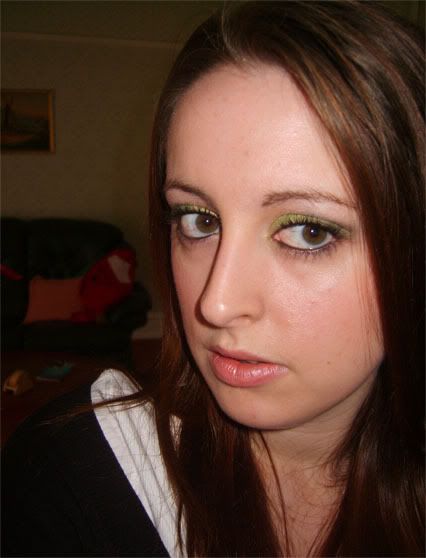
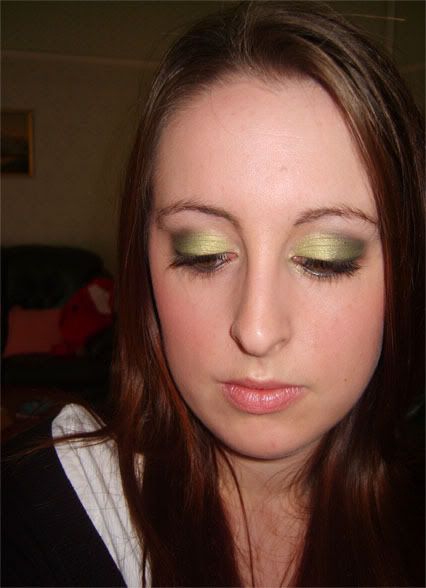
Brushes used in this tutorial:
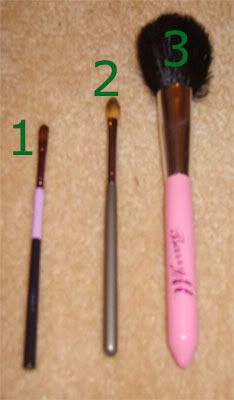
1. Ms Makeup Compact Eye Shadow/Blending Brush
2. Ruby and Millie Dome Shaped Fluff Brush
3. Barry M Blush/Powder/Bronzer Brush
Eye Shadows used in this tutorial:
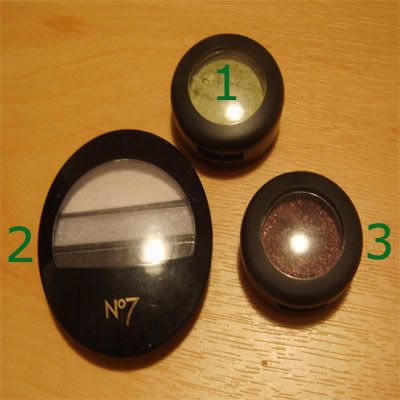
1. MAC Mono Shadow in 'Juxt'
2. No7 Trio in 'Twilight'
3. MAC Mono Shadow in 'Beauty Marked'
Begin by applying a good base to your eyelids. Use whatever one you prefer. I have used my Barry M Shimmering Eye and Lip Pencil in '#1'. Even out with a finger if you're using creme shadow as your base to prevent any lumps in your shadow.
Pat 'Juxt' over the entire lid and blend over the entire lid with a normal eye shadow brush until satisfied with the colour. You can build MAC shadows so it's up to you how bright you want yours. Of course I'm going the whole way here! I recommend using patting motions first because it helps the shadow to stick and show up better.
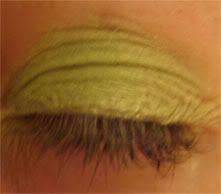
Take a smaller, more compact eye shadow brush (I am using my Ms Makeup one. A small smudge brush would work for this too) and a small amount of any black eye shadow (I am using the black from the No7 trio) on the tip of the brush. Just dab your brush into the shadow, you do not need to pick up a lot all at once as this won't offer you the same amount of control. (Remember it's better and easier to have to add more shadow than to have to remove lots of it) Drag the tip of your brush gently into the crease of the eye lid, stopping half way and blending gently. Don't blend the shadow 'outward', (ie: don't blend it up over your brow bone) rather just blend along the eyelid crease. This will help to define the crease before we proceed with our blending. Go lightly and build the colour rather than packing on a load at once. You can add more shadow as you go to suit your taste. When I am doing this I use gentle back and forth motions along with slight windshield wiper motions.
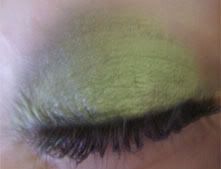
Next take a fluffy eye shadow brush (I am using my Ruby and Millie Blender/Fluff Brush. A dome shaped one is most ideal because it will contour better to the lid because of its shape) and a little Beauty Marked and blend over the entire outer third of the lid (I use the wider side of my brush with back and forth motions to do this part) and into the crease. Blend well with the black shadow to soften. You want to only take the shadow just above your eye socket. Don't go all the way up to your brow bone because this will make your eyes look closed and we want a nice opened up sultry look. Blend the shadow towards the inner corner of your eye but don't go too far in, just aim for a 'faded' appearence so that shadow starts darker in the crease and gradually fades over the outer third of the lid. Clean up the outer edge with a cotton bud to neaten.
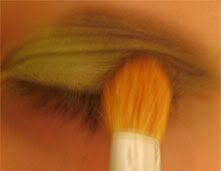
I have demonstrated which way to use your brush for this step in the photo below. Using the side of the brush not only helps to blend the shadow nicely but is also much easier than using the tip.
(Just before blending)
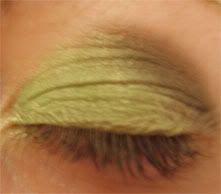
(Blending out)
Line your waterlines with a black eyeliner pencil and apply two or three coats of mascara. Allow each coat of mascara to dry before applying the next and use an eyelash comb to declump if necessary.
For foundation use whatever you have. I mix my MAC Studio Fix NW15 liquid foundation with my every day moisturiser and blend over my face using a 'wedge' sponge. (You can buy these in packs in any good supermarket or drugstore)
Apply a natural pink blush to the apples of your cheeks. You're aiming for a natural, fresh/flushed look with a sultry eye so don't overdo the blusher or you'll look overdone. I used my Rimmel blusher in '004 Pink Rose'.
A peachy pink lipstick/lipgloss goes best with this look. I would use my Barry M Glossy Tubes in '#5' to compliment this look.
