Sultry Green Eyes

Thursday, October 23, 2008


Brushes used in this tutorial:


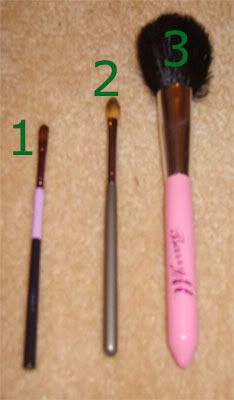
1.
Ms Makeup Compact Eye Shadow/Blending Brush

2. Ruby and Millie Dome Shaped Fluff Brush

3.
Barry M Blush/Powder/Bronzer Brush

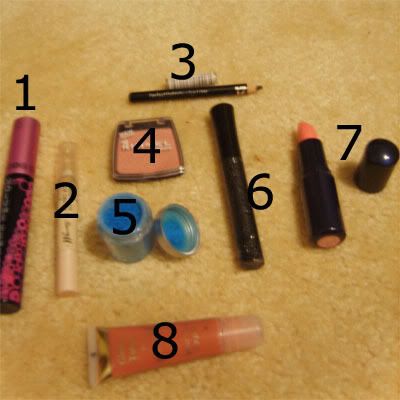
Eye Shadows used in this tutorial:


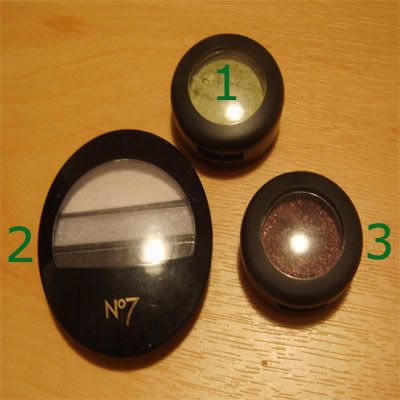
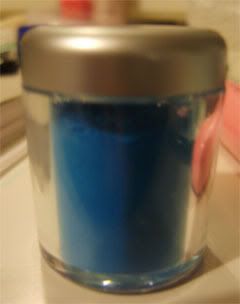
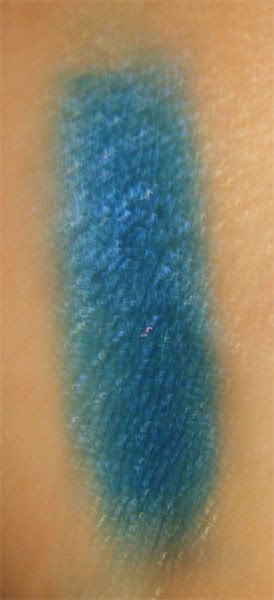
1. MAC Mono Shadow in 'Juxt'

2. No7 Trio in 'Twilight'

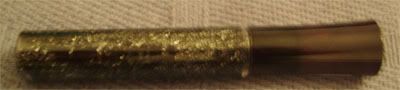
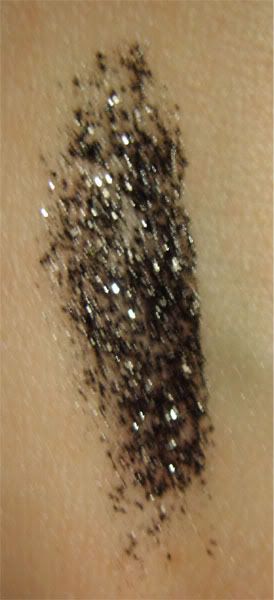
3. MAC Mono Shadow in 'Beauty Marked'


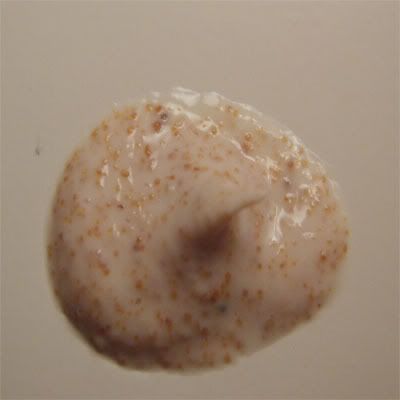
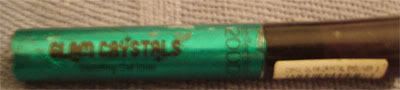
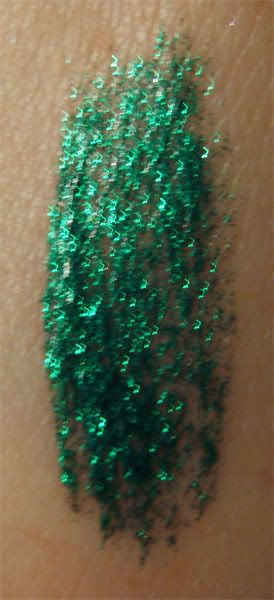
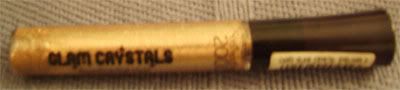
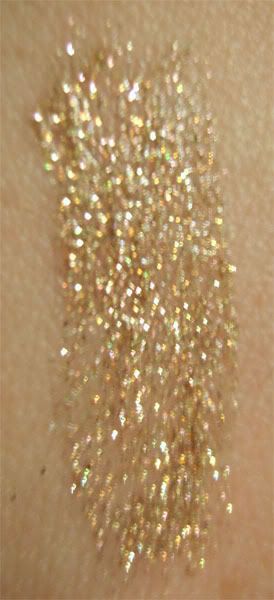
Begin by applying a good base to your eyelids. Use whatever one you prefer. I have used my Barry M Shimmering Eye and Lip Pencil in '#1'. Even out with a finger if you're using creme shadow as your base to prevent any lumps in your shadow.

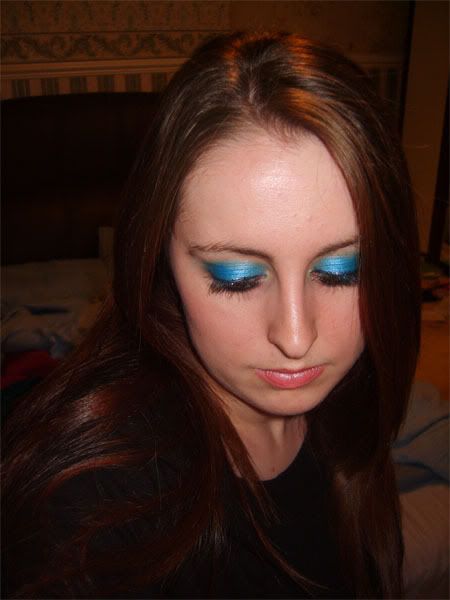
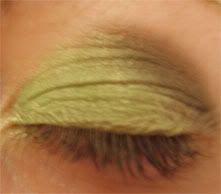
Pat 'Juxt' over the entire lid and blend over the entire lid with a normal eye shadow brush until satisfied with the colour. You can build MAC shadows so it's up to you how bright you want yours. Of course I'm going the whole way here! I recommend using patting motions first because it helps the shadow to stick and show up better.


Take a smaller, more compact eye shadow brush (I am using my Ms Makeup one. A small smudge brush would work for this too) and a small amount of any black eye shadow (I am using the black from the No7 trio) on the tip of the brush. Just dab your brush into the shadow, you do not need to pick up a lot all at once as this won't offer you the same amount of control. (Remember it's better and easier to have to add more shadow than to have to remove lots of it) Drag the tip of your brush gently into the crease of the eye lid, stopping half way and blending gently. Don't blend the shadow 'outward', (ie: don't blend it up over your brow bone) rather just blend along the eyelid crease. This will help to define the crease before we proceed with our blending. Go lightly and build the colour rather than packing on a load at once. You can add more shadow as you go to suit your taste. When I am doing this I use gentle back and forth motions along with slight windshield wiper motions.


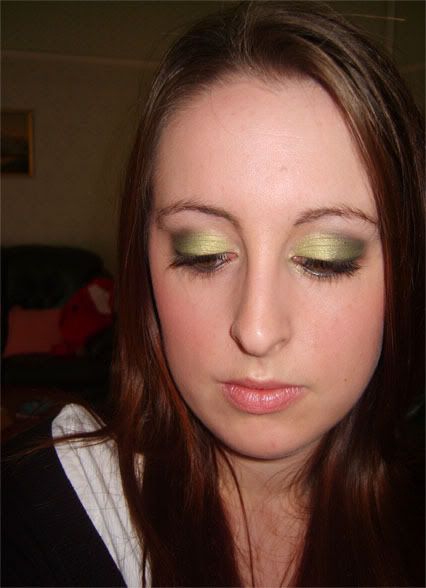
Next take a fluffy eye shadow brush (I am using my Ruby and Millie Blender/Fluff Brush. A dome shaped one is most ideal because it will contour better to the lid because of its shape) and a little Beauty Marked and blend over the entire outer third of the lid (I use the wider side of my brush with back and forth motions to do this part) and into the crease. Blend well with the black shadow to soften. You want to only take the shadow just above your eye socket. Don't go all the way up to your brow bone because this will make your eyes look closed and we want a nice opened up sultry look. Blend the shadow towards the inner corner of your eye but don't go too far in, just aim for a 'faded' appearence so that shadow starts darker in the crease and gradually fades over the outer third of the lid. Clean up the outer edge with a cotton bud to neaten.

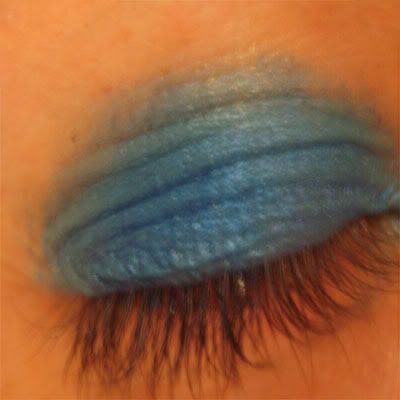
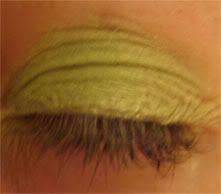
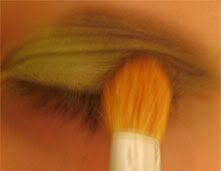
I have demonstrated which way to use your brush for this step in the photo below. Using the side of the brush not only helps to blend the shadow nicely but is also much easier than using the tip.

(Just before blending)
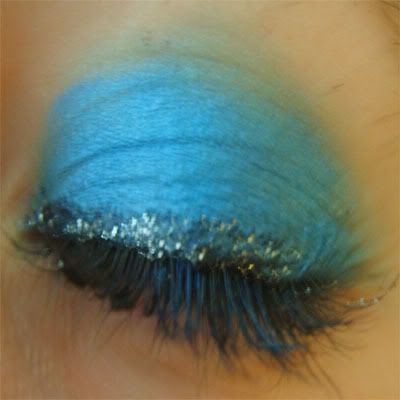
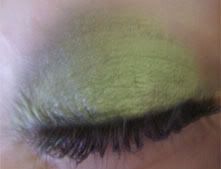


(Blending out)


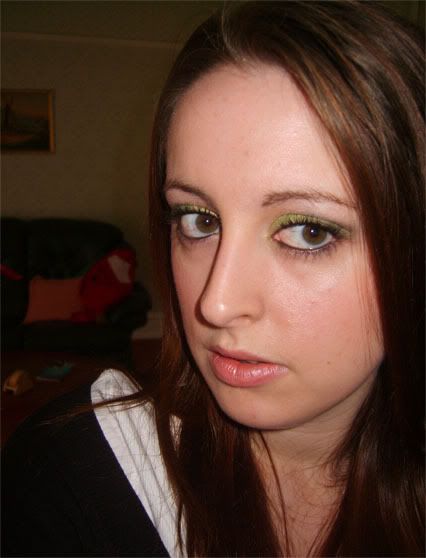
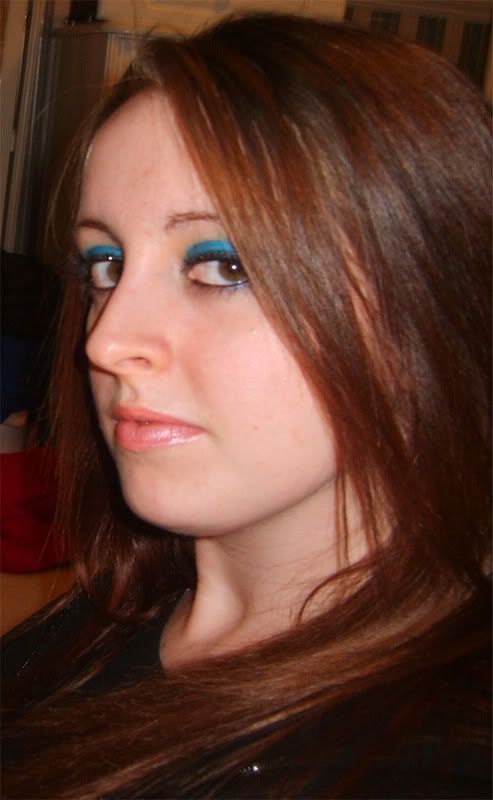
Line your waterlines with a black eyeliner pencil and apply two or three coats of mascara. Allow each coat of mascara to dry before applying the next and use an eyelash comb to declump if necessary.

For foundation use whatever you have. I mix my MAC Studio Fix NW15 liquid foundation with my every day moisturiser and blend over my face using a 'wedge' sponge. (You can buy these in packs in any good supermarket or drugstore)

Apply a natural pink blush to the apples of your cheeks. You're aiming for a natural, fresh/flushed look with a sultry eye so don't overdo the blusher or you'll look overdone. I used my
Rimmel blusher in '004 Pink Rose'.

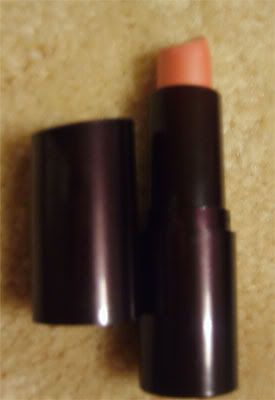
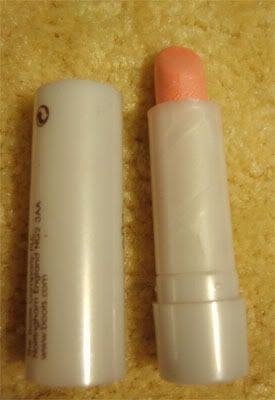
A peachy pink lipstick/lipgloss goes best with this look. I would use my Barry M Glossy Tubes in '#5' to compliment this look.


St Ives Apricot Exfoliation Facial Scrub

Thursday, October 9, 2008
Here's my thoughts on ST IVES Apricot Exfoliating Scrub. I bought it recently at half price from Tesco. Originally it costs about £3.99 and I got it for £1.95. It comes in a 150 ML squeezy tube. You can still get it half price at Tesco if you're quick. It is for all skin types.


So why use an exfoliation wash to begin with?

Well it's more ideal than anything to exfoliate because this process removes impurities and dead skin cells from the surface of the face. A build up of either can encourage blemishes. By removing the dead skin cells you are also removing impurities and thus helping to prevent blemishes. It's important not to ignore the neck when you're exfoliating as this area can become dry and rough. This scrub in particular also claims to make your skin 'radiant'.

By also having smoother skin you will create a better base for facial make up like Foundation and powder. For obvious reasons your make up will blend better over your face if dead skin cells are removed regularly.

It is up to you how often you want to exfoliate your face but up to two times a week is the most ideal.

Formula

So here's the actual formula. As you can see it's creamish white in colour with very fine exfoliating 'bits' (for want of a better word!). It spreads very well and you get a closer exfoliation because of the fineness of these 'bits'. You also get more coverage since there's more scrub in the formula and it goes further.


Scent

The smell is quite tangy. It reminded me of marzipan more than apricots to be honest. Apricot flavoured marzipan perhaps? It has a definite tang just like a strong soap. It's not a gentle sweet apricot smell which is kind of what I expected but nevertheless the smell wasn't too bothersome.


Directions

As with all exfoliation washes you first wet your face and then take some formula in your hands and spread all over the face (taking care to avoid the sensitive areas around the eyes) and gently rub in circular motions to activate the exfoliation process over the entire face. Do this for about a minute and then rinse. Pat dry with a clean, dry towel.

End result

After using this scrub a few times I found it left my skin feeling very smooth and soft. It also gave me a bit of a fresh glow which was nice. It feels a lot more gentle because of the fineness of the formula so it doesn't leave your skin feeling raw like many exfoliating scrubs and mitts can.


The only let down was the smell. I would prefer something a bit sweeter in smell but nevertheless this scrub is pretty good and I would definitely buy it again.

Collection 2000 Volume Sensation Mascara

Wednesday, October 8, 2008
I promised a review on this one and after a good few uses here it is!

Collection 2000 Volume Sensation Mascara in 'Black' / Non-Waterproof
Price: £4.99


I love this mascara. It's buildable and it seperates the lashes nicely. If you rotate the brush against your lashes it gives great volume. I have naturally long lashes that are medium thickness and I always look for mascaras that can give me that extra thickness and I found this did the job very nicely.

The formula is non scented and the colour is extremely 'deep' so the pigmentation is very good as a result. (I know some people really care about colour pay off in any kind of make up...well I do anyway!) The texture of the formula has a medium thickness to it which helps for building the thickness of the lashes.

The brush tip is chunky but it's not as hardcore chunky as CG's 'Lashblast'. I think the size is just right, they've gone for wideness rather than length which prevents the tip of the wand from stubbing you in the nose but if you have a smaller face/eyes still be careful with larger wands.

As far as removing it goes, well, it's very easy to remove for the most part but if you layer your mascara like I do you will have to work slightly to get it all off. It stays on all day too. I wear contact lenses and it doesn't irritate at all. Plus the packaging is extremely cute.

The only downside to this that I could see was the fact that it is buildable which means you have to work a little to get that volume but it is worth it when you do.

Well worth it. Especially for only £4.99 :)

Dramatic Vibrant Blue Clubbing Eyes

Tuesday, October 7, 2008
This look is perfect for a night out! Or if you live a little on the bold side ;)

It couldn't be simpler to do either!

The shadow looks a little darker in the first photo but that's the crappy lighting in my room for you. It will improve eventually, I promise! You can see the actual colour much better in the 2nd photo.

Products:


1. Collection 2000 'Volume Sensation' Clubbing Mascara in 'Black'

2. Barry M Shimmering Eye/Lip Pencil in '#1'

3. No17 Eyeliner Pencil in 'Onyx'

4. Rimmel Blusher in '004 Pink Rose'

5. Collection 2000 Dazzle Dust in '#11 Spellbound'

6. Collection 2000 Glam Crystals Gel Eye Liner in 'Rock Chick'

7. Miss Sporty Lipstick in '009 Innocence'

8. Barry M Glossy Tubes Lipgloss in '#4'


Best to wait to apply your foundation AFTER your eye make up in this instance because eye dusts tend to produce fall out and you'll just end up wiping your foundation off everytime you get a few specks of shadow on your face so save yourself the fuss and apply your facial makeup (foundation, concealer, etc) afterward.


Step One: BASE!


Start by applying a good base to your lids. I always reinforce this but especially for now as we're going to be working with eye dust and there's no way this stuff is going to stay on or stand a chance of looking vibrant without a good base! I use Barry M Creme Shimmer Eye/Lip pencils as my bases and they're excellent. Remember to smooth out with your finger if you are using creme shadows or pencils because they can make lumps in your shadow if you don't.

Once you have applied your base PAT the eye dust all over the eye lids with an eye shadow brush. (I used my MAC 239) It does help to have a slightly damp brush. Don't soak your brush, just spray it lightly with water. (You can find travel spray bottles at most drugstores. Just fill with water and you're good to go. Hey, it saves running to the tap!)

A soaking brush will cause your eye dust to mush up and go everywhere and may ruin your shadow! It is best to pick up your colour, spray lightly with water and then apply rather than spraying your brush first and then dipping it into the shadow. Mostly because doing it this way can ruin your shadow (it particularly ruins compact shadows if you aren't careful).

Don't try and pile all the colour on at once either (not unless you want a huge mess anyway) Go easy and layer it on until you've got the colour strength you want. In this case, we're going the whole way!


Step Two: Rock It

Next take the 'Rock Chick' gel eye liner and line the upper lash line. We're going for a thicker line because we want the glitter and colour to show boldly for a nice dramatic eye :)

Line your waterlines with a black eyeliner, apply mascara and lastly lipcolour to finish. I used Miss Sporty '009 Innocence' with Barry M Glossy Tubes '#4' over the top for my lip colour.

You can find some more lipsticks I recommend to go with this look below. DONE! Easy, wasn't it? :D


Full look (With lip colours used in product list and apologies for not being able to see the full prettiness of the glitter! Better pics next time, I promise!):


Cheap lipstick to match this look:

Rimmel 'Nude Pink'
Price: £3.99


Very cheap:

Natural Collection 'Candy Mist'
Price: £1.99


Collection 2000 Haul

Monday, October 6, 2008
I went shopping again the other week and I completely caved in when I saw that Collection 2000 have released some new colours in their Glam Crystals Dazzling Gel Eye Liner range. I bought an eye dust too.

Originally in the Glam Crystals range there was a gold, silver, green, blue and turquoise. Now they have a coppery gold, pink and black. I did swatches in the store and I loved the black so much I bought it.

These liners are amazing. Honestly you do not even need a base for these to stay put! They are a gel formula with lots of glitter. Absolutely perfect for anyone who loves a bit of glitter or for a night out. The glitter is a mix of chunky and fine glitter and it's really pretty. They last all night (I have had the green one a long time and tried and tested it so I know the lasting power :)) and easy to remove.

The brush tip is flexible and thin which makes application very easy. The number of strokes you need depends on how much glitter and colour you want. One stroke will just give you a dash of glitter and a few strokes will give you colour and glitter in one as shown in each of the swatches.

These liners look great over eye shadow on the upper and lower lash lines or alone.

Price (for all glam crystal liners): £1.99 (BARGAIN!)

'#2 Pizzazz'


Swatch:


'#3 Funk'


Swatch:


'#7 Rock Chick'


Swatch:


And, as I said, I also bought a dazzle dust.

Eyedust. '#11 Spellbound'

Price (of all C2000 eye dusts): £1.99 at the moment! £2.99 otherwise so grab 'em now!


Swatch: